Published: Oct 22, 2025 by James K
OutdoorLads LED Matrix
A three-part build exploring the design, hardware, and firmware behind a portable LED matrix for the OutdoorLads DJ booth.
- OutdoorLads LED Matrix (Part 1: Concept & Design)
- OutdoorLads LED Matrix (Part 2: Build & Hardware)
-
OutdoorLads LED Matrix (Part 3: Firmware, Software & Showtime)
In Part 2, I built the Matrix frames and control box, it’s time to make it do something.
Time to Code
The code to drive these panels went through many versions! I’m going to try and not waffle on, and explain the key points.
As a first test, I of course wanted to see the panels working using some basic effects built into the firmware. I used the OctoWS2111 Library by Paul Stoffregen to accomplish this.
Setting this up with Jinx! was a little tedious - each pixel is three channels; Red, Green and Blue. That means the first pixel occupies channels 0, 1 and 2, the second 3, 4 and 5, and so on. Couple this with the serpentine layout, and it quickly became very confusing. Also, to simplify things, for the two channels that only have one column, I decided to approach it from the perspective of them having three phantom columns, these being columns that don’t exist. Using the phantom columns/pixels kept things simpler overall, by making all eight channels drive the same number of pixels…kind of.
To try and make this easier, I mapped it all out in a spreadsheet.

My first attempt at driving the panels from the Jinx! software was using ArtNET over Ethernet, using the Ethernet Kit for Teensy 4.1. It kind of worked, but it was a bit temperamental, and can safely point the finger of blame at my code, I’ll accept that! I could have fixed this, but there was something bugging me - I was developing this on my Windows laptop, which has an Ethernet port, however the Windows 10 Tablet I had for this project did not have an Ethernet port. This means that a USB to Ethernet dongle would be needed. I didn’t like this - anything that can go wrong will go wrong, and a USB to Ethernet adapter will go missing at some point. That’s a weak point in this system.
So, I felt no shame in scrapping the ArtNET connection idea, and instead focussing on using the USB UART on the Teensy 4.1. Remember, the USB UART on a Teensy 4.1 is not limited by a traditional Baud rate of conventional UART; it actually runs at native USB speeds, so this is a massive relief.
The most sensible option here was to use the TPM2 protocol, which is a protocol designed for LED Matrices. This is where the TPM2 Arduino Library by rstephan came in extremely useful.
Up to now though, I am just using the OctoWS2811 library to drive the pixels, which is great, and it works. But, FastLED exists! FastLED is one of the best libraries for driving WS2811 pixels - I’d recommend checking it out, to see why. I wanted to be able to use this! I needed to therefore combine OctoWS2811 with FastLED. Quite fortunately, I came across this great resource, which allowed me to accomplish this. You can see the test in the video below!
Rather than explain all the code here, It’s probably best to go check it out on my GitHub Here - I’ve explained it all in the comments.
Coming back to the data-line resistors, I observed the data arriving at the first pixel on an oscilloscope. I found that the signal was marginally better with 100Ω resistors. So these will stay. I soldered them into the sockets so that they won’t become loose. Unfortunately I don’t have a photo of the oscilloscope results, so you’ll just have to trust me! Sorry.
Finalising the Control Box
Now that I know that it all works, the Control Box needs to be finished off.
For the Mains Input, I mounted a panel mount IEC C14 connector. The one I used had built-in fuse and was also an EMC filtered one. You guessed it, I had it amongst my collection of parts! I also fitted a panel mount flip-switch in series with the Live, to allow the power to be easily controlled - also from my collection of miscellaneous switches.
For safety, I wanted to add fuses for the power to the panels - the PSU can supply 60 A after all! There’s two power cables for the two panels, so I wanted two fuses, one for each panel. I wanted to use automotive blade fuses, since they are cheap and readily available, and changing them is tool-less. I wasn’t able to find a dual blade fuse holder, so I bit the bullet and designed my own. The handy thing about blade fuses is that the terminals fit into fast-on spade type connectors, so I designed my fuse holder to use these. In a nut-shell, I took precise measurements of the fast-on spade receptacles I had, and made my design around that, such that the connectors fit in the fuse holder exactly. Side note - fast-on spade crimps from Amazon are absolute junk! Scary when these are commonly used for mains. Thankfully I had some quality ones in my stores. Link to OnShape Part

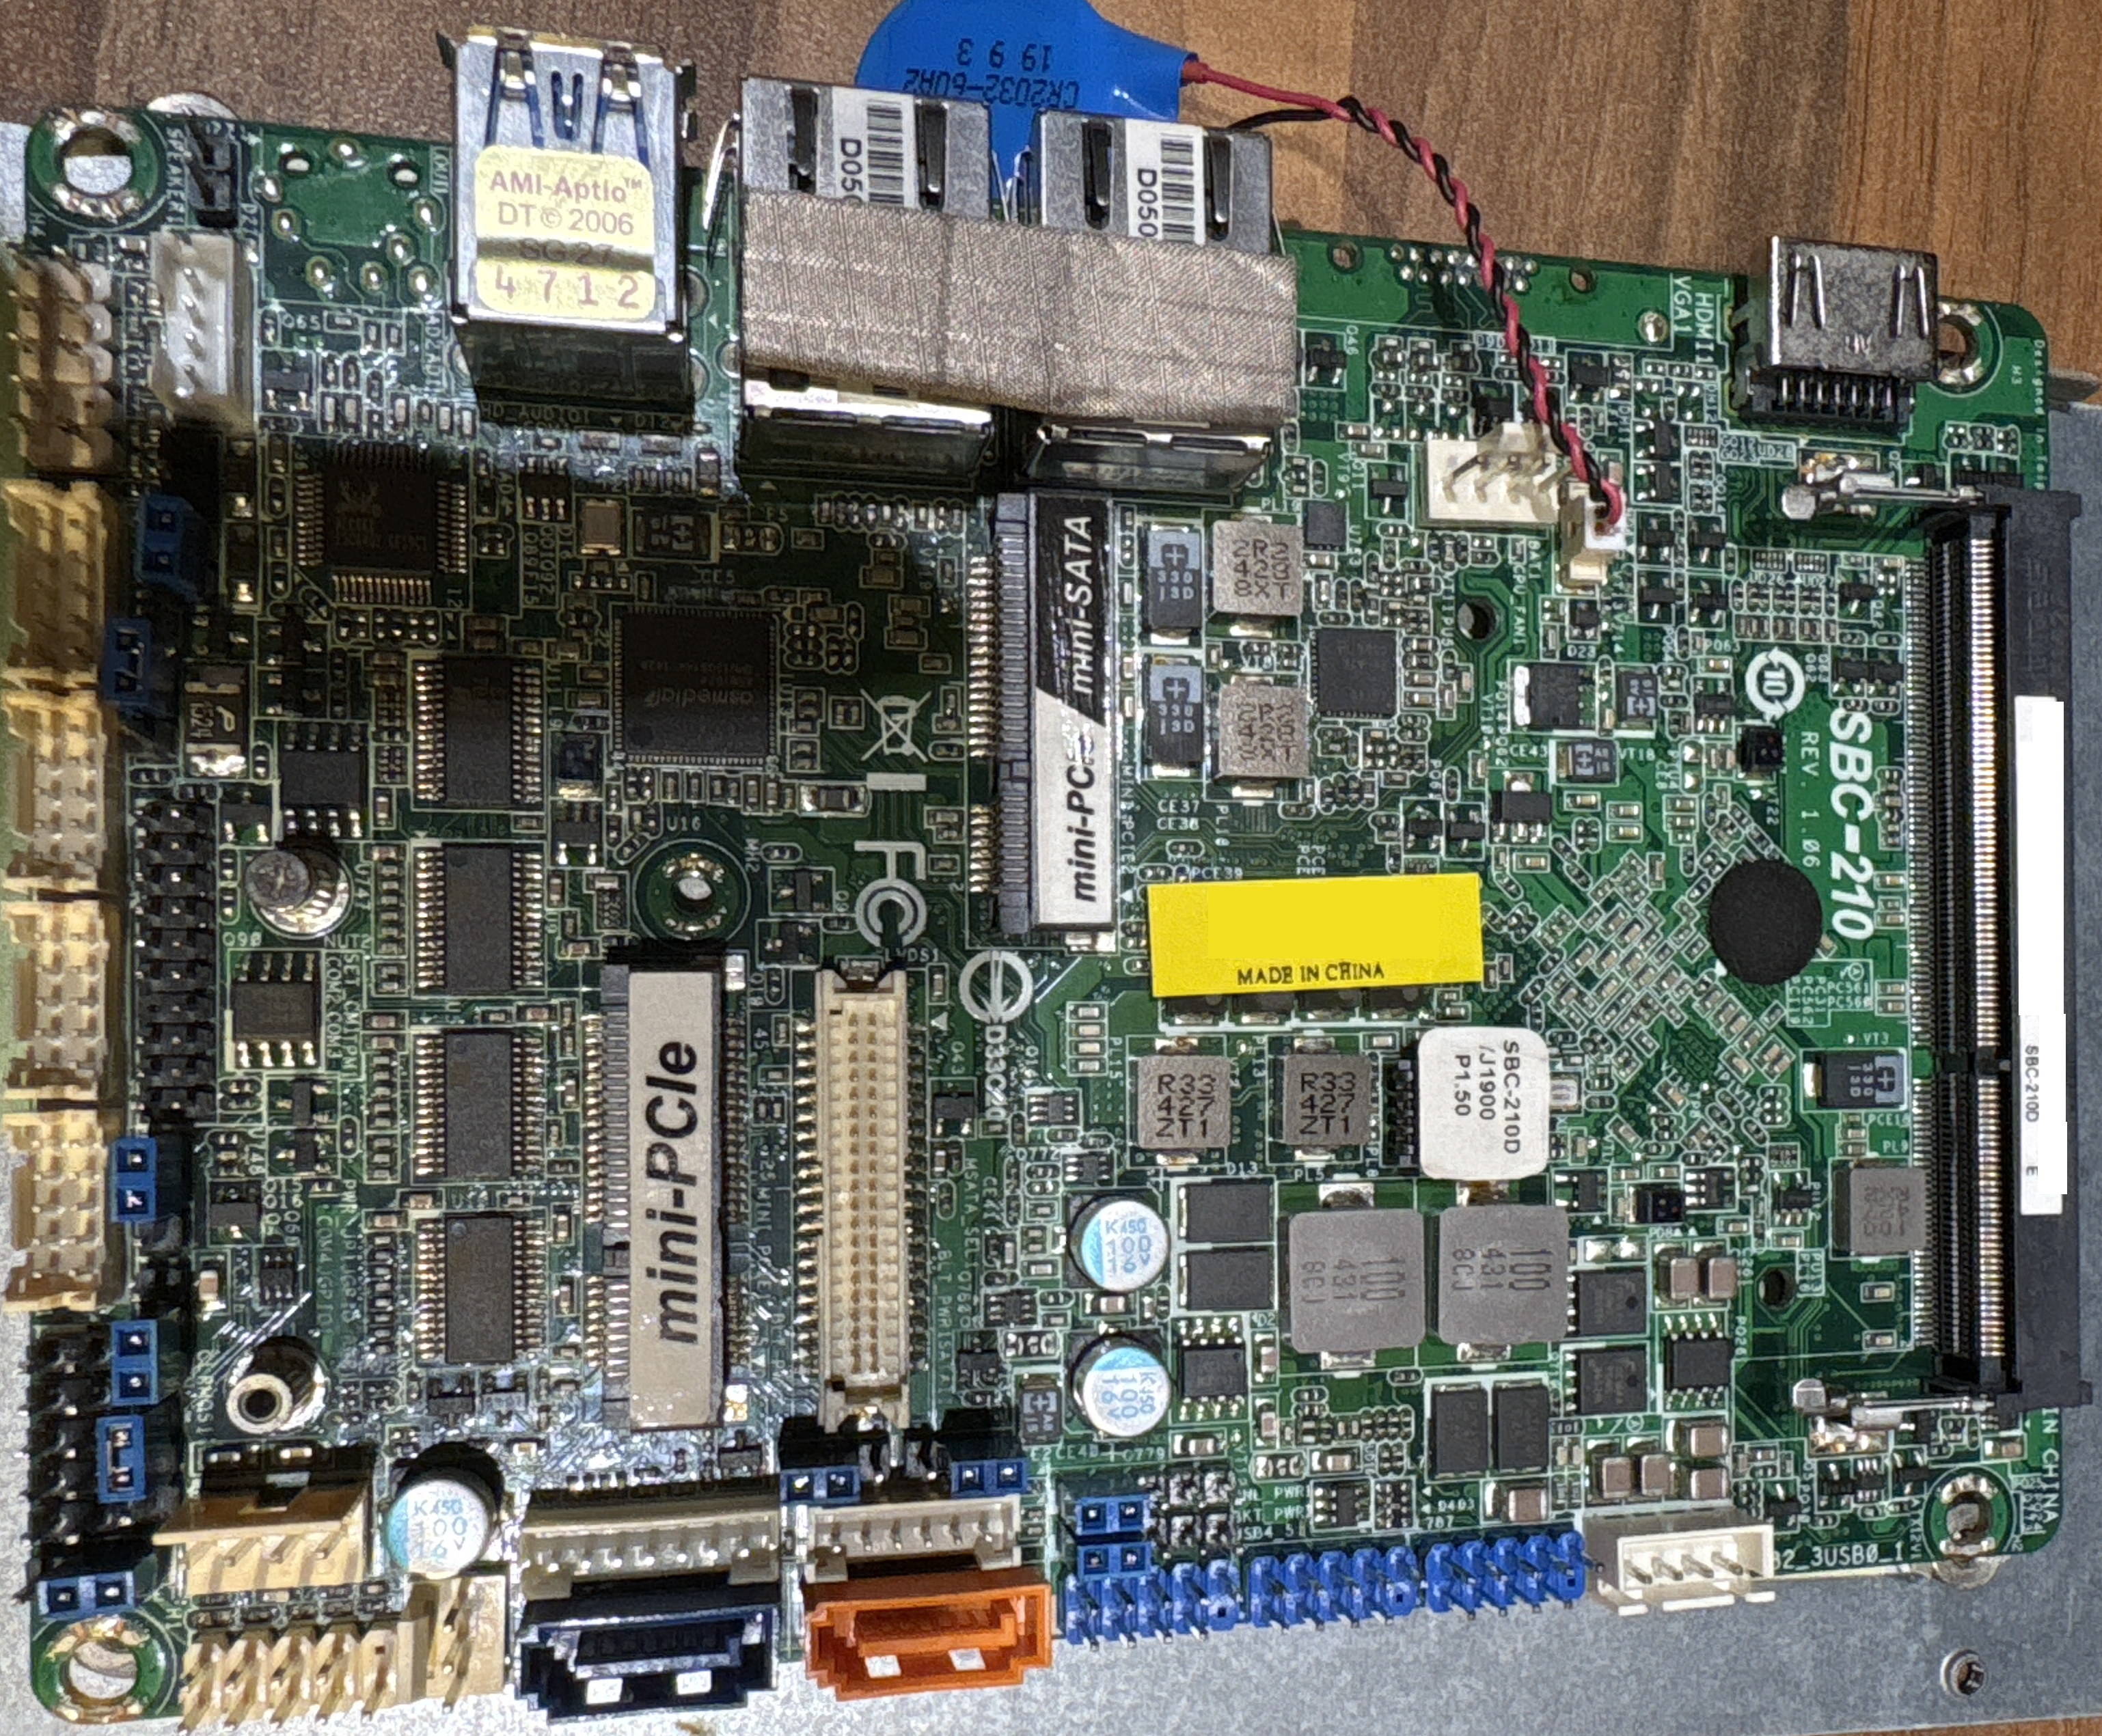
With the microcontroller board, since space was at a premium, I did not have much space to allow for mounting holes. I purposefully didn’t even bother trying to accommodate mounting holes, and instead knew that I’d mount them with some 3D printed hardware. I created two mounts that hold the board by opposite corners - one of them is fixed and the board slots in, and the other one comprises of two parts, the board sits on top of the bottom fitting, and then is fixed in place by a top part. This means that the board can be removed with just one screw, if needed. OnShape Link to Part

After printing these, I fitted them into the control box:


And let’s not forget about the USB connector, that’s pretty important! I decided to use a USB-B socket for connection; Mini-USB is dead, and Micro-USB is too flimsy. I probably should have put a USB-C connector on this, but when I was making it, I wasn’t really in the USB-C bubble at the time, and I had one of these available to use:

It’s not very panel mountable though, so I made a holder and facia for it in OnShape. I even got a bit fancy and made a model of the USB-B Connector Module too! OnShape Link to Part

I decided to put a fan on the box, to aid with keeping the control box cool. The PSU already has a fan that kicks in when it gets hot, but it just vents within the box. I didn’t like that, so I designed a duct assembly that will sit over the PSU Fan, and directs airflow to the outside. OnShape Link to Part

And that’s the Control Box done!

Jinx!
With the Matrix Panels now doing what I want, I need to sort the Windows 10 Tablet that drives these panels. As mentioned, I am using the Jinx! software. You can create effects, and merge effects together. It’s very powerful - the instruction manual is very good too, it’s worth a read if you’re curious about Jinx!. Very conveniently, it comes with a bunch of effect that are totally awesome! When you have a bank of effects made, Jinx! allows you to create a “Show Mode” control panel. Many of the effects that come with Jinx! made it into my show mode control panel.
One nice feature of Jinx! is that it allows you to show scrolling text. But the annoying thing is, you cannot update the text when you’re in show mode. What I wanted, was a way to display scrolling text, and be able to edit it from the show mode control panel. I came up with a neat work-around though - you can configure Jinx! to read in the text from a .txt file for the scrolling text, and I discovered that when the .txt file is updated, the scrolling text is also updated too. That’s really exploitable! I used Visual C to make a little dialog box with four text boxes. When the enter key is pressed (or on-screen button tapped/clicked), four .txt files are updated accordingly. With Jinx! set to use these four .txt files, the text can be updated easily. I also made it so that this window automatically positions itself over some controls that are not needed, and also so that the dialog box is perpetually kept at the front (i.e. so it doesn’t disappear behind Jinx!). I compiled this into an .exe file, and made a little wrapper .bat file on the desktop, so that the .exe and Jinx! are loaded together. Shown below:
START c:/jinx/jinx.exe -m c:/jinx/OutdoorLadsV3.jnx
START c:/jinx/ScrollingTextUtility.exe
Below is a screenshot from the tablet of the show mode control panel. I made the colour theme dark red for two reasons; firstly, it reduces brightness from the screen, you don’t want a bright screen at your side when you’re DJing, and secondly, it is very on-brand with OutdoorLads.

Actually, before I made the text utility in Visual C, I made it in Python. It worked, it was great. But you know what wasn’t great? For some reason, the Windows on-screen keyboard would not pop up for the text boxes. I tried to figure this out, and came up empty handed. I guess there mustn’t be many cases of people wanting the Windows on-screen keyboard with a Python GUI! Rather than waste hours on this, I went the Visual C route. Brushed up my Visual C skills in the process so this was kind of beneficial.

It’s done!
With all that, the project is nearly finished! The final thing to do was figure out a way to attach the panels to the DJ Booth Truss. I kept things simple here, and used some heavy-duty Velcro straps. I cut them to size, used a sewing machine to tidy up the cut ends, and attached these to the panels with wood screws. Overall, it works really well, see below:

Okay, it is finished!

Version 2 Time…
So, I’m really pleased with the result, it looks absolutely amazing. But I discovered two problems, which fortunately work together. When I was developing, I was using my Windows laptop to drive the panels using Jinx!. It worked absolutely fine, no problems. Unfortunately it was not plain sailing with the Windows 10 Tablet… For some reason, after what seemed like an arbitrary amount of time, the USB communications would die. There is a blue LED on the control box that shows when data is being received, and when the USB communications died, this LED was off. This was super annoying, it worked fine on my laptop!! Restarting the output in Jinx! would fix this, but it would always eventually die. I can only imagine that for some reason, the Tablet is putting the USB into standby, or something like that. I changed some settings on the USB Host on the Tablet, which I thought had fixed it, but it didn’t.
Grr. But that leads me onto the second problem - It hit me that I had over-engineered this with the tablet. One of my requirements was that it “Must be easy to setup by non tech-savvy people”, and as much as I hated to admit it, I think the tablet just over-complicated things. Plus, who really wants Windows 10 to be part of a solution?! Although I’d made the operation of the tablet streamlined, it was still a bit faffy. And the tablet mounted to the side of the DJ booth was a bit clunky and just added another setup step.
I made the decision that I should simplify this. This should just be a plug-and-play system, i.e. plug the control box into the panels, plug in the power, turn it on, and it works. But the problem is that I have all these amazing effects that are generated by Jinx!, and I did not want to lose these.
Well, here is where that micro-SD card slot on the Teensy 4.1 comes to the rescue! What I did, is create a Jinx! chase that cycles through all the effects, minus the ones with custom text, and redirected the output to record the serial stream to a file. I then changed the firmware so that instead of reading in the data from the TPM2 serial stream, it reads it in from the file on the SD card. When it gets to the end, it simply starts again from the beginning. This was perfect - I had the same fancy effects from Jinx!, but no need for the tablet - easy plug and play!
Take a look at the firmware for the SD Card version on my GitHub Here.
Okay, now it is finished! :)
Requirements Check
Must fill the whole front of the DJ Booth, and be able to be securely attached
Yes! Fills the entire front, and is attached easily with heavy-duty Velcro straps.
Must be able to fold up to aid in transportation and storage
Yes! When folded up, it is 1150 × 605 × 50 mm. Folds on hinges, and secures closed with hasps.
Must be rugged to withstand transportation
Yes, I think it is rugged.
Must be easy to setup by non tech-savvy people
First version, No. Second version, Yes.
Must have a decent pixel density (bit of a wishy-washy requirement)
I think so. Design A was not dense enough, Design B was probably too dense. I think Design C struck a nice balance, and the finished matrix looks good to me.
Must have a selection of kick-ass visualisation effects
Yes - thanks, Jinx!!
LEDs must be RGB, and be as big as possible
Yes, and LEDs are 8mm diameter.
LEDs must be able to be driven rapidly to sustain a video-quality refresh rate
Yes - I think it managaes about 50 FPS. It looks very fluid and the refresh rate is not noticeable at all.
Total cost of parts must be below £300
Yes! Can you believe that? It cost a total of £275.22. Of course some of the parts were what I had in my collection, but these were not significantly expensive items. Annoyingly, I had to buy a special Dell PSU for the Tablet, which was £14.39, and the tablet mount was £17.50. Since scrapping the tablet, this is £31.89 of wasted cost - damn it! (I do wonder how much my time would have cost, haha)
Overall Impact
I’m really proud of this build. When it was launched at the first Big Spring Camp event in 2023, I got informed by the OutdoorLads office that they’d heard many glowing comments about it. A lot of people were really surprised that I’d built it myself especially for OutdoorLads, and thought it was something that came with the DJ Booth, which is really nice.
I was also really humbled to receive an award at the AGM meeting that year, to thank me for all the hard work in re-vamping the equipment.